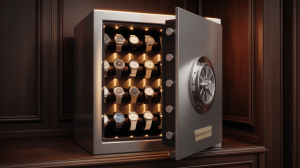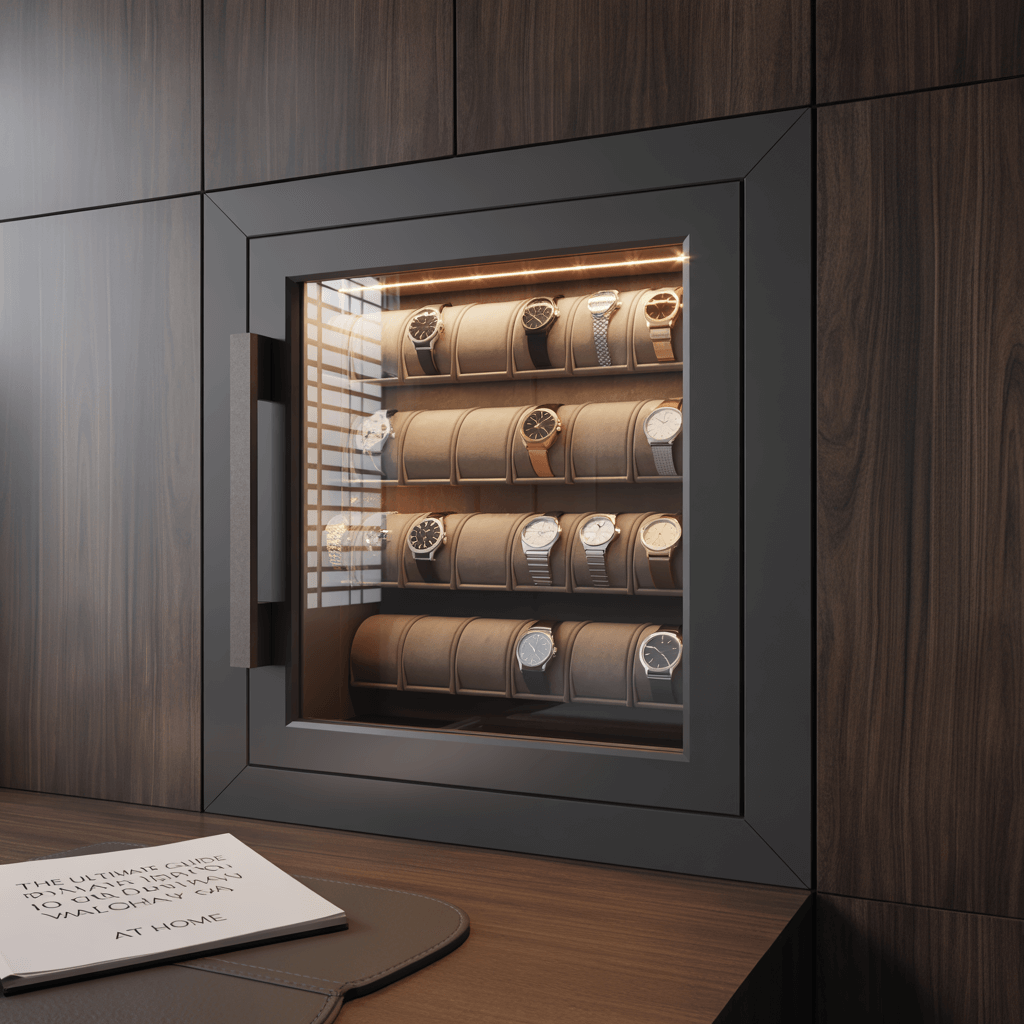
The Ultimate Guide to Installing a Watch Display Safe at Home. But here’s the kicker… Proper installation transforms a simple safe into a seamless, permanent fixture that protects and showcases your collection.
1. Choosing the Ideal Location
Selecting the perfect spot demands balance between accessibility and stealth. Think about foot traffic, visibility to guests, and concealment from intruders. A closet shelf behind clothing offers disguise but may restrict headroom for tall safes. Under a desk or in a sideboard keeps it accessible yet out of plain sight. Here’s the deal… measure clearance for hinges and door swings, accounting for any molding or obstructions. Ensure your chosen wall or surface is load-bearing—wood stud construction supports most safes, while concrete walls may require masonry anchors.
| Location Option | Visibility Level | Pros & Cons |
|---|---|---|
| Closet Shelf | Low | Hidden but limited height |
| Under Desk | Moderate | Accessible yet discreet |
| Sideboard or Cabinet | Low–Moderate | Integrates into furniture |
2. Verifying Wall and Floor Strength
Before drilling, confirm the surface can bear the safe’s weight plus contents. Ready for the good part? Use a stud finder to locate joists or studs—mounting directly into metal studs requires special anchors rated for heavy loads. For concrete or brick, choose sleeve anchors or wedge anchors rated for your safe’s mass. Check manufacturer guidelines for recommended anchor sizes and embedment depths to prevent shear or pull-out failures.
3. Gathering Necessary Tools and Hardware
Avoid mid-project trips to the hardware store. You’ll need: an electric drill with masonry and wood bits, torque-rated socket wrench, level, tape measure, stud finder, pencil, and safety gear (glasses and gloves). Anchor kits often include bolts and washers—verify their specifications match wall type. Here’s the deal… double-check anchor load ratings and keep spare hardware in case of mis-drills or upgrades.
4. Preparing the Safe’s Base and Back
Most watch display safes include pre-drilled mounting holes in the base or back panel. Remove interior trays to access holes easily. Place the safe in position, shimming as needed until it’s perfectly level front-to-back and side-to-side. Don’t skip this step—an unlevel safe can bind doors and strain locks. Once level, mark hole centers on the wall or floor.
| Mounting Surface | Anchor Type | Bolt Size |
|---|---|---|
| Wood Stud | Lag bolt | ½″ × 6″ |
| Metal Stud | Metal stud anchor | ¼″ × 3″ |
| Concrete/Brick | Sleeve anchor | ⅜″ × 4″ |
5. Drilling Pilot Holes with Precision
Use the appropriate drill bit: a masonry bit for concrete, high-speed steel for wood. Drill slowly to avoid bit wander. Keep the drill perpendicular to the surface—use a drill guide or block if needed. Clear debris between holes with a vacuum or brush. Here’s the deal… over-drilling weakens the mounting surface; under-drilling prevents full anchor engagement.
6. Installing Anchors and Securing the Safe
Insert anchors gently, tapping flush with a hammer. Align the safe’s mounting holes over anchors, then thread bolts by hand to avoid cross-threading. Use a torque wrench set to manufacturer-recommended settings—over-torquing can strip threads or crack walls. Confirm each bolt is snug but not overly tight, then recheck level to ensure nothing shifted.
7. Reassembling Interior Components
With the safe anchored, reinstall watch trays, pillows, and any winders. Check that trays slide freely and that winders engage properly. Here’s the deal… any misalignment here can damage watches or strain motors. Run a test cycle for winders and open/close doors multiple times to ensure smooth operation without binding.
| Component | Function | Installation Tip |
|---|---|---|
| Watch Trays | Holds watches securely | Align tray stops properly |
| Winder Modules | Keeps automatics wound | Test motor spin before loading |
| Interior Lighting | Illuminates display | Secure wiring away from trays |
8. Installing Optional Climate Control Packs
If your safe supports desiccant or humidity control modules, place them in designated chambers. Activate packets per instructions—often by microwave or sun exposure. Here’s the deal… modules must sit away from air vents and winders to function optimally. Close the door and allow 24 hours for humidity to stabilize before storing watches.
9. Configuring Electronic or Biometric Locks
Set your personal code or enroll fingerprints according to the safe’s instruction manual. Test all codes and prints a few times to confirm reliability. Store backup override keys in a separate secure location. Here’s the deal… forgetting your code can lock you out; use a secure password manager to record credentials.
10. Integrating Interior Lighting
Wire LED strips or spotlights behind trim rails. Conceal wires along interior channels and secure with clips. Connect to the safe’s power source—many safes offer internal 12V terminals. Ready for the good part? install motion or door switches so lights activate automatically. Test brightness and angle to avoid reflection or glare on watch crystals.
| Lighting Type | Power Source | Placement Tip |
|---|---|---|
| LED Strip | 12V terminal | Under top trim for even wash |
| Fiber-Optic Spots | Remote driver | Above each watch slot |
11. Mounting Interior Accessories
Attach small hook racks or tool holders to sidewalls for straps and spring-bar tools. Use adhesive-backed Velcro strips rated for weight or screw-in clips. Ensure accessories don’t obstruct trays or winders. Here’s the deal… leaving tools loose risks damage to watch finishes—set everything firmly in its place.
12. Final Safety Checks and Lock Testing
Close and lock the door multiple times, checking seal integrity and lock engagement. Listen for unusual rubbing or scraping. Verify that anchor bolts remain tight after operations. Here’s the deal… perform a 24-hour test: place no watches inside, then shake or attempt gentle pulls to confirm immobility.
| Test Procedure | Purpose | Pass Criteria |
|---|---|---|
| Door Cycle | Lock/unlock 10 times | Smooth action, no binding |
| Shake Test | Gentle push/pull | Zero movement |
13. Loading and Arranging Your Watches
Begin placing watches by category and frequency of use. Use front slots for daily wearers and back slots for weekend or special-occasion pieces. Avoid overloading winders—assign only active automatics. Leave small gaps between pillows for easy removal. Here’s the deal… this organized layout not only protects but enhances visual appeal.
14. Setting Up Maintenance Reminders
Use a calendar or smart home reminder to check desiccant status, test locks, and clean interior every quarter. Record any code changes and battery replacements. Here’s the deal… proactive maintenance prevents lock failures and environmental damage, extending both safe and watch lifespans.
15. Enjoying and Showcasing Your Installed Safe
Step back and admire your handiwork. The safe should feel like bespoke furniture—secure, functional, and stylish. Invite friends to admire the display, then relish the peace of mind that your collection is both visible and vault-secure. Here’s the deal… proper installation makes your watch safe an integrated statement piece rather than an afterthought.
Conclusion
Installing a watch display safe at home merges security with design, protecting your collection while elevating your space. Follow these expert steps for flawless installation and enjoy a showcase that’s as secure as it is stunning.
FAQ
Q1: Can I install a heavy safe on drywall alone?
No—always anchor into studs or concrete to handle the weight.
Q2: How often should I retorque mounting bolts?
Check and retorque every six months to maintain secure anchoring.
Q3: Are motion-activated lights safe for watch interiors?
Yes—low-heat LEDs pose no risk to lubricants or straps.
Q4: Can I retrofit an existing cabinet with a safe insert?
Yes—ensure the cabinet structure is strong enough and follow anchor guidelines.
Q5: What’s the best way to test lock reliability?
Perform repeated lock/unlock cycles and verify no binding or slipping occurs.